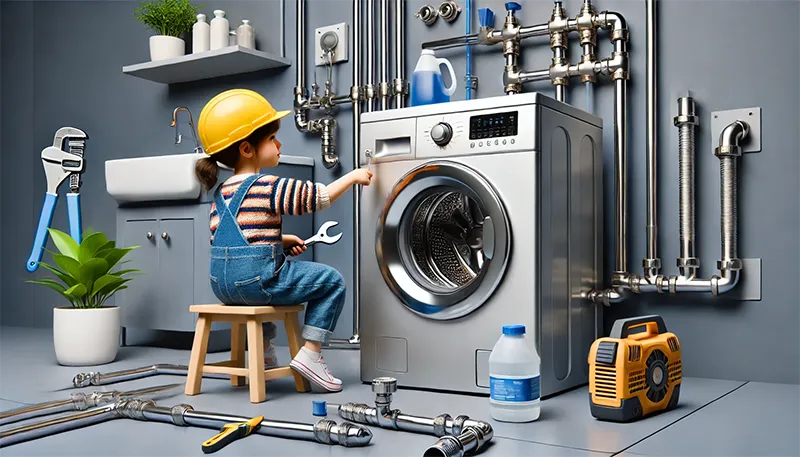
Install washing machine plumbing on your own may sound intimidating, but it’s entirely manageable with the right steps and tools.
A well-installed washing machine setup prevents leaks, saves money on repairs, and keeps your appliance running efficiently for years.
Let’s go through the process in five straightforward steps, so you can handle this installation confidently on your own!
Step 1: Gather Your Tools and Supplies
Before starting, it’s crucial to have all the necessary tools and materials handy. Here’s what you’ll need for a smooth installation:
- Adjustable Wrench: For tightening the water hoses and fittings.
- Pliers: To help with securing clamps and connections.
- Hose Clamps: These help keep the drain hose securely attached.
- Teflon Tape: Used on threaded fittings to prevent leaks.
- Level: Ensures the washing machine sits perfectly, avoiding excess noise and vibration.
Having these items ready will help you tackle each step without interruptions.
Step 2: Position the Washing Machine
Properly positioning your washing machine is essential for smooth operation. Here’s how to make sure it’s in the right spot:
- Measure Your Space: Make sure there’s enough room for the washing machine, with extra space around it for hoses and airflow.
- Ensure Access to Power: The washing machine needs to be near a grounded power outlet. Avoid using an extension cord for safety reasons.
- Leave Clearance: Allow about four inches of space at the back for hoses, and at least an inch on each side for ventilation.
Positioning the washing machine close to water and drainage connections makes the setup easier and ensures efficient operation.
Step 3: Connect the Water Supply Hoses
Now it’s time to connect the hot and cold water supply hoses. This step can prevent leaks if done correctly, so take your time with it:
- Attach Hoses to the Machine: On the back of the washing machine, locate the inlet ports for hot and cold water. Attach each hose to its corresponding port (hot to hot, cold to cold) and hand-tighten them.
- Connect Hoses to Water Supply Faucets: Connect the other ends of the hoses to your water supply faucets. Again, make sure to match hot to hot and cold to cold.
- Use Teflon Tape: Apply a bit of Teflon tape on the threads before tightening the connections with a wrench. This tape adds an extra seal and helps prevent leaks. Be careful not to overtighten, as this could damage the fittings.
Properly connected water hoses ensure that your washing machine receives a steady flow of water without any annoying drips.
Step 4: Secure the Drain Hose
A well-secured drain hose prevents messy leaks and backflow. Follow these tips to get it right:
- Insert the Hose into the Drain Pipe: Your washing machine’s drain hose should go into a standpipe (the drain pipe in your laundry area) or a laundry sink, depending on your setup.
- Secure with a Hose Clamp: If possible, secure the hose to the standpipe using a hose clamp to keep it in place. This helps prevent the hose from slipping out during draining.
- Ensure a High Loop: Some washing machines come with a bracket that raises the hose, forming a high loop to prevent backflow. If yours doesn’t, manually create a loop by securing the hose at a height that matches your machine’s instructions.
Keeping the drain hose properly positioned reduces the risk of water backup or overflow during draining.
Step 5: Test and Level the Machine
After connecting everything, it’s essential to check for any issues before you start using your washing machine regularly.
- Turn on the Water Supply: Open the water valves and check for leaks around the hose connections. If you spot any drips, try tightening the connections slightly or adding a bit more Teflon tape.
- Run a Short Cycle: Set the washing machine to a short cycle with no laundry inside. Watch for any unusual noises or issues during the cycle, especially when the machine fills and drains.
- Use a Level to Check the Machine: Place a level on top of the machine. Adjust the feet if needed to get the machine perfectly level. This reduces excess noise, prevents shifting during spin cycles, and helps extend the appliance’s lifespan.
Testing the washing machine ensures everything is set up correctly, preventing potential issues down the road.
FAQs
-
What should I do if there’s a leak after installation?
Check each hose connection and tighten slightly if necessary. Sometimes, applying additional Teflon tape around the threads can stop persistent leaks.
-
Can I install a washing machine without a drain?
It’s not recommended, as washing machines need proper drainage to avoid flooding or water damage.
-
What type of hoses are best for washing machine plumbing?
Flexible braided hoses are an excellent choice. They’re durable and resistant to cracking, making them safer and longer-lasting than rubber hoses.
-
How often should I replace washing machine hoses?
Replacing hoses every 5-7 years is a good rule of thumb. Look out for signs of wear, such as cracks or bulging, and replace hoses immediately if you notice any damage.
-
Can I install a washing machine myself, or should I hire a professional?
If you’re comfortable with basic plumbing, most people can handle the installation. However, if you’re unsure, hiring a professional can provide peace of mind and prevent potential issues.
Installing your washing machine plumbing doesn’t have to be complicated. By following these five simple steps, you can set up your machine safely, avoid leaks, and keep it running smoothly for years.
Regular checks and maintenance, like inspecting hoses and securing connections, can help you catch any small issues before they become big ones.
Now, enjoy the confidence of knowing your washing machine is installed correctly!


