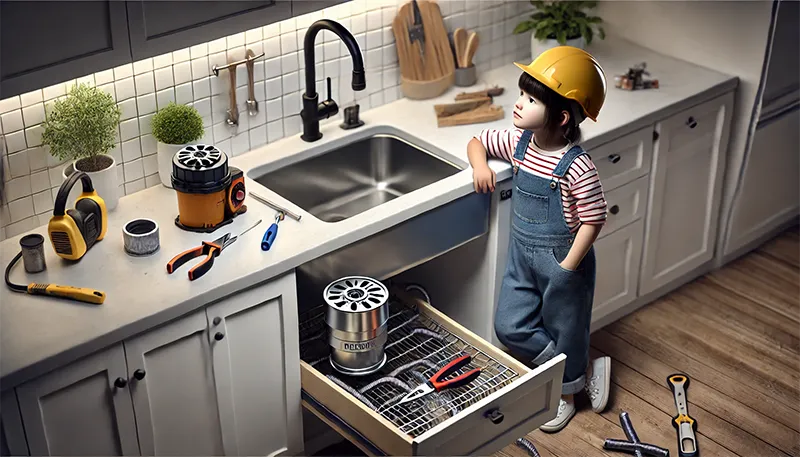
Installing a garbage disposal can seem like a daunting task, but with the right tools and clear instructions, it’s a DIY project most homeowners can handle.
A new garbage disposal can make kitchen cleanup easier and more efficient by reducing food waste and minimizing clogs.
This guide will walk you through the process of how to install a garbage disposal safely and efficiently, from preparation to troubleshooting.
Let’s get started!
Tools and Materials You’ll Need
Before beginning, gather the following tools and materials to ensure a smooth installation:
Tools:
- Screwdriver (Phillips and flathead)
- Adjustable wrench
- Pliers
- Plumber’s putty
- Hammer
- Bucket
- Towels or rags
- Hex wrench (often included with disposal)
Materials:
- New garbage disposal unit
- Mounting hardware (typically included with disposal)
- Sink flange
- Discharge tube and fittings
- Electrical cord (if not pre-installed)
- Dishwasher drain hose (optional)
Step 1: Prepare for Installation
Turn Off Power
- Shut off the power to the disposal circuit at the main electrical panel.
- Verify the power is off using a voltage tester.
Disconnect the Existing Disposal (If Applicable)
- Unplug the Disposal: If your current disposal has a plug, remove it from the outlet.
- Disconnect the Drain Pipes:
- Place a bucket under the sink to catch any water.
- Use pliers to loosen the slip nuts on the drain pipe and disconnect it.
- Detach the Disposal Unit:
- Turn the mounting ring counterclockwise to release the disposal.
- Allow the disposal to drop into the bucket carefully.
Clean the Sink Area
- Scrape off any old plumber’s putty or debris from the sink drain opening.
Step 2: Install the Sink Flange
- Apply Plumber’s Putty:
- Roll a rope of plumber’s putty and apply it around the bottom edge of the sink flange.
- Insert the Flange:
- Press the flange into the sink drain opening, ensuring a tight seal.
- Secure the Flange:
- From under the sink, place the rubber gasket and mounting ring onto the flange.
- Tighten the mounting screws evenly until the flange is secure and seated firmly.
- Clean Excess Putty:
- Wipe away any putty that squeezes out around the flange.
Step 3: Attach the Mounting Assembly
- Install the Mounting Ring:
- Fit the mounting ring onto the flange and tighten the screws.
- Ensure the mounting assembly is secure and flush with the sink bottom.
- Check for Stability:
- The flange should not move when you press on it.
Step 4: Connect the Garbage Disposal Unit
- Align the Disposal:
- Hold the disposal unit up to the mounting assembly.
- Align the disposal’s mounting tabs with the slots on the mounting ring.
- Lock the Disposal in Place:
- Turn the mounting ring clockwise to lock the disposal into place.
- Tighten until the disposal is secure.
Step 5: Connect the Discharge Pipe
- Attach the Discharge Tube:
- Connect the discharge tube to the disposal’s outlet.
- Secure it with a slip nut and gasket.
- Reconnect the Drain Pipes:
- Connect the other end of the discharge tube to the P-trap or existing plumbing.
- Tighten all connections to prevent leaks.
Step 6: Wire the Electrical Connection
If your garbage disposal doesn’t come with a pre-installed power cord, follow these steps:
- Remove the Cover Plate:
- Unscrew the cover plate at the bottom of the disposal.
- Connect the Wires:
- Match the wires:
- Black to Black (Hot)
- White to White (Neutral)
- Green or Bare Wire to the Grounding Screw
- Match the wires:
- Replace the Cover Plate:
- Secure the wires and screw the cover plate back into place.
Step 7: Attach the Dishwasher Hose (Optional)
- Remove the Knockout Plug:
- If connecting a dishwasher, use a screwdriver and hammer to knock out the plug in the disposal’s dishwasher inlet.
- Connect the Hose:
- Attach the dishwasher drain hose to the disposal inlet.
- Secure it with a hose clamp.
Step 8: Test the Installation
- Turn On Power:
- Restore power at the circuit breaker.
- Check for Leaks:
- Run cold water and check all connections for leaks. Tighten fittings if necessary.
- Run the Disposal:
- Turn on the disposal and let it run while running cold water.
- Listen for any unusual noises or vibrations.
Safety Tips for Installing a Garbage Disposal
- Always Turn Off Power: Ensure the power is off at the circuit breaker before starting.
- Use a Bucket: Catch any water or debris when disconnecting pipes.
- Wear Gloves: Protect your hands from sharp edges and debris.
- Don’t Force Connections: Tighten components firmly but avoid overtightening.
Troubleshooting Common Issues
Disposal Won’t Turn On
- Check the Power Connection: Ensure the unit is plugged in or the wires are connected correctly.
- Press the Reset Button: Located on the bottom of the disposal.
Leaks at the Sink Flange
- Solution: Reapply plumber’s putty and tighten the mounting assembly.
Loud Noises
- Solution: Check for foreign objects inside the disposal and remove them carefully.
Slow Draining
- Solution: Clear any clogs in the P-trap or discharge pipe.
FAQs
-
How long does it take to install a garbage disposal?
Typically, it takes 1-2 hours for a standard installation.
-
Can I install a garbage disposal myself?
Yes, most homeowners can handle the installation with basic tools and clear instructions.
-
How much does a garbage disposal installation cost?
DIY installation costs around $100-$200 for the unit. Professional installation can range from $200-$400.
-
Do I need plumber’s putty for the sink flange?
Yes, plumber’s putty helps create a watertight seal for the flange.
-
Can I install a garbage disposal with a septic system?
Yes, but ensure you choose a septic-safe disposal designed for septic systems.
Conclusion
Installing a garbage disposal is a straightforward DIY project that can improve your kitchen’s functionality and efficiency.
By following this step-by-step guide, you can confidently install or replace a disposal. If you encounter challenges, don’t hesitate to consult a professional plumber.
Have you installed a garbage disposal? Share your tips and experiences on social media to help others tackle this project!