Imagine your home as a majestic ship sailing through the seas of life. Just as a small leak can sink a great ship, undetected water leaks can wreak havoc on your home, causing extensive damage and costly repairs. Enter the smart water leak detection system – your vigilant first mate, always on watch to spot and alert you to potential water-related disasters before they escalate.
In this comprehensive guide, we’ll navigate the waters of smart home technology, specifically focusing on how to install a smart water leak detection system in your single-family home. Whether you’re a tech-savvy sailor or a landlubber just dipping your toes into the world of smart homes, this guide is designed to help you fortify your home against the stealthy invasion of unwanted water.
Before we dive into the installation process, let’s consider a sobering statistic: According to the U.S. Environmental Protection Agency, household leaks can waste nearly 1 trillion gallons of water annually nationwide This staggering figure underscores the importance of implementing an effective water leak detection system in your home.
Understanding Smart Water Leak Detection Systems
What is a Smart Water Leak Detection System?
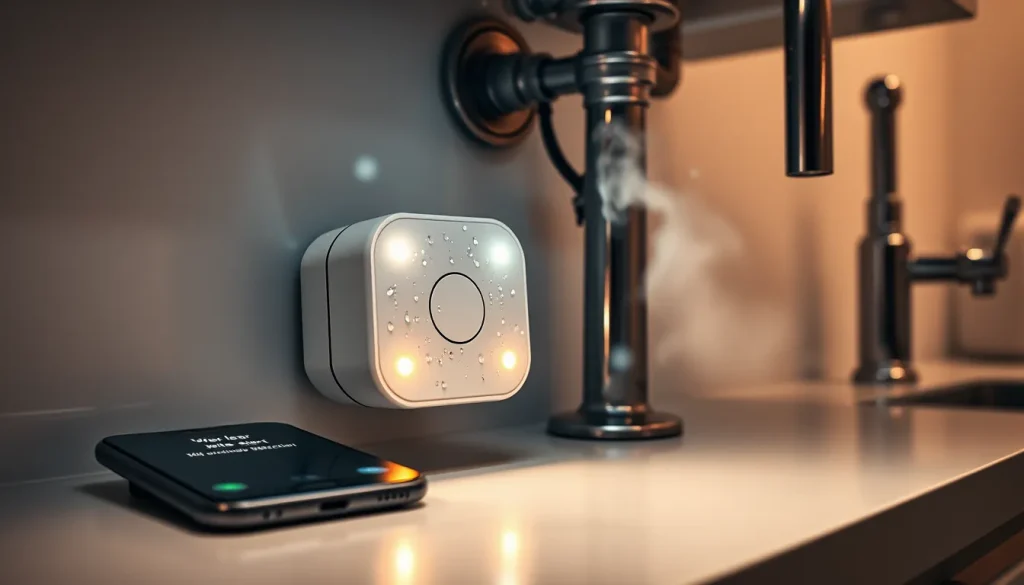
A smart water leak detection system is a network of sensors and devices that monitor your home for water leaks and alert you when they detect moisture in unexpected places. These systems can range from simple, battery-powered sensors that send alerts to your smartphone, to more complex setups that include automatic water shut-off valves and integration with other smart home devices.
Components of a Smart Water Leak Detection System
- Water Sensors: These are the foot soldiers of your leak detection army. Placed in strategic locations throughout your home, they detect the presence of water and send alerts.
- Smart Hub: This is the command center that connects your sensors to your home network and smartphone. Some systems use Wi-Fi-enabled sensors that don’t require a separate hub.
- Smartphone App: This is your control panel, allowing you to monitor your system, receive alerts, and control settings from anywhere.
- Smart Water Shut-Off Valve (Optional): This is the heavy artillery, capable of automatically shutting off your home’s main water supply when a leak is detected, preventing extensive damage.
Benefits of Installing a Smart Water Leak Detection System
- Early Detection: Catch leaks before they become major issues, saving you from costly repairs and water damage.
- Remote Monitoring: Keep an eye on your home’s water situation from anywhere in the world using your smartphone.
- Water Conservation: By catching leaks early, you’ll save water and reduce your utility bills.
- Insurance Benefits: Many insurance companies offer discounts for homes with smart water leak detection systems installed.
- Peace of Mind: Rest easy knowing your home is protected against water damage, even when you’re away.
Preparing for Installation
Before you begin the installation process, it’s essential to gather all necessary materials and ensure you meet the prerequisites for a successful setup.
Tools and Materials Required
- Smart water leak sensors (quantity depends on your home’s size and layout)
- Smart hub (if not using Wi-Fi-enabled sensors)
- Smartphone with iOS or Android operating system
- Screwdriver (flathead and Phillips head)
- Mounting tape or screws
- Batteries (if required by your chosen sensors)
- Water shut-off valve (optional, for advanced systems)
- Internet router with stable Wi-Fi connection
Prerequisites
- Stable Wi-Fi Network: Ensure your home has a reliable Wi-Fi network that reaches all areas where you plan to place sensors.
- Smartphone Compatibility: Verify that your smartphone is compatible with the app required for your chosen smart water leak detection system.
- Accessible Areas: Identify and ensure access to all areas where you plan to place sensors, including under sinks, behind appliances, and in basements.
- Electrical Outlets: If your system requires a plugged-in hub or sensors, make sure you have available outlets in appropriate locations.
- Home Assessment: Conduct a thorough assessment of your home to identify high-risk areas for water leaks, such as basements, kitchens, bathrooms, laundry rooms, and areas with water heaters or sump pumps.
Step-by-Step Installation Guide
Now that you’re prepared, let’s dive into the installation process. Remember, the specific steps may vary slightly depending on the brand and model of your chosen smart water leak detection system, but these general guidelines will help you navigate the process.
Step 1: Choose Your System
Selecting the right smart water leak detection system is crucial for effective protection. Consider the following factors:
- Home Size: Ensure the system can cover your entire home.
- Connectivity: Decide between Wi-Fi-enabled sensors or those requiring a hub.
- Integration: Check compatibility with existing smart home devices.
- Features: Look for additional features like temperature sensors for freeze detection.
- Battery Life: Consider the longevity of sensor batteries and ease of replacement.
- Expandability: Choose a system that allows you to add sensors as needed.
For beginners, we recommend opting for Wi-Fi-enabled sensors that don’t require a separate hub, as they’re generally easier to set up and manage.
Step 2: Download and Set Up the App
- Search for your system’s app in your smartphone’s app store (iOS App Store or Google Play Store).
- Download and install the app.
- Create an account following the app’s instructions.
- Allow necessary permissions for the app to function properly (e.g., notifications, location services).
Step 3: Set Up the Hub (If Required)
If your system uses a central hub:
- Choose a central location for the hub, ideally near your internet router.
- Plug the hub into a power outlet.
- Follow the app’s instructions to connect the hub to your Wi-Fi network.
- Wait for any necessary firmware updates to complete.
Step 4: Place and Install Sensors
Now comes the crucial task of placing your water leak sensors in strategic locations throughout your home. Focus on high-risk areas such as:
Basement:
- Near sump pumps
- Around water heaters
- Behind washing machines
- Along basement walls prone to seepage
Kitchen:
- Under sinks
- Behind dishwashers
- Near refrigerators with water lines
Bathrooms:
- Around toilet bases
- Under sinks
- Near bathtubs and showers
Other Areas:
- Near water softeners
- Under windows prone to leaks
- In attics near roof penetrations
For each sensor:
- Clean the surface where you’ll place the sensor.
- If using adhesive, remove the protective backing and firmly press the sensor in place.
- If using screws, mark the screw holes, drill pilot holes if necessary, and secure the sensor.
- Ensure the sensor’s contact points are close to the floor or surface where water would first appear.
Step 5: Pair Sensors with Your System
- Open your system’s smartphone app.
- Follow the app’s instructions to add each sensor to your network.
- This usually involves pressing a button on the sensor to put it in pairing mode.
- Name each sensor based on its location for easy identification (e.g., “Kitchen Sink,” “Basement Sump Pump”).
Step 6: Test the System
It’s crucial to verify that your system is working correctly:
- Use a damp cloth to trigger each sensor.
- Confirm that you receive an alert on your smartphone for each activated sensor.
- Check that the alert correctly identifies the sensor’s location.
- If any sensors fail to trigger an alert, troubleshoot by checking battery connections, Wi-Fi signal strength, or sensor placement.
Step 7: Install Smart Shut-Off Valve (Optional)
For advanced protection, consider installing a smart water shut-off valve:
- Locate your home’s main water supply line.
- Shut off the water supply manually.
- Cut the pipe where you want to install the valve (this step is best left to professionals).
- Install the smart shut-off valve according to the manufacturer’s instructions.
- Restore water supply and check for leaks around the new valve.
- Connect the smart valve to your system’s app and test its functionality.
Note: Due to the complexity and potential for water damage, we strongly recommend professional installation for smart shut-off valves.
Maximizing Your Smart Water Leak Detection System
To get the most out of your newly installed system, consider these tips:
- Regular Maintenance: Check sensor batteries annually and replace as needed.
- Expand Coverage: Add sensors to new areas as you identify potential risk zones.
- Integrate with Other Smart Devices: Connect your leak detection system with other smart home devices for enhanced functionality (e.g., smart lights that flash when a leak is detected).
- Stay Updated: Keep your system’s app and firmware up to date for the latest features and security enhancements.
- Educate Family Members: Ensure everyone in your household knows how the system works and what to do in case of an alert.
Troubleshooting Common Issues
Even the best systems can encounter hiccups. Here are solutions to common problems:
- Sensor Not Connecting: Check Wi-Fi signal strength, replace batteries, or move the hub closer.
- False Alarms: Clean sensors and ensure they’re placed on a dry, level surface.
- Missed Alerts: Verify app notification settings and check your phone’s do-not-disturb settings.
- App Not Responding: Force close the app, restart your phone, or reinstall the app.
FAQs
Q: How often should I replace the batteries in my sensors?
A: Most sensors have a battery life of 1-2 years. Set reminders to check them annually.
Q: Can I install a smart shut-off valve myself?
A: While possible, it’s recommended to have a professional plumber install shut-off valves to ensure proper integration with your home’s plumbing system.
Q: Will thick walls interfere with my sensors’ connectivity?
A: Some materials can interfere with signals. Consider using a mesh network or additional hubs for better coverage in homes with thick walls or multiple levels.
Q: Are smart water leak detection systems worth the investment?
A: Considering the potential cost of water damage repairs, most homeowners find these systems to be a valuable investment in protecting their property.
Q: Can I take my smart water leak detection system with me if I move?
A: In most cases, yes. Sensors can be easily removed and reinstalled in a new home, though smart shut-off valves may need to be left behind or professionally moved.
Conclusion: Safeguarding Your Home Against Water Damage
Installing a smart water leak detection system is like giving your home a superpower against the silent threat of water damage. By following this comprehensive guide, you’ve not only protected your property but also gained peace of mind knowing that you have a vigilant guardian watching over your home 24/7.
Remember, the key to effective water leak detection is proper installation, regular maintenance, and staying engaged with your system. Don’t let your home become another statistic in water damage reports. Take action today to fortify your castle against unwanted water intrusion.
We encourage you to share your installation experience or tips on social media to help others in their journey to safeguard their homes. By spreading awareness about the importance of smart water leak detection, you’re not just protecting your own home – you’re helping to build a community of informed and prepared homeowners.
Ready to take the plunge? Dive into the world of smart water leak detection and make your home a fortress against water damage. Your future self (and your wallet) will thank you for it!