Understanding Common Vent Issues
When it comes to DIY vent repair, the first step is knowing what you’re up against. Trust me, I’ve been there—standing in front of a vent system, scratching my head, wondering why my dryer is taking forever to dry clothes. Spoiler alert: it’s usually a vent issue! Here are some common problems you might encounter:
- Torn or Damaged Vent Hoses: Over time, vent hoses can wear out or get damaged. A small tear might not seem like a big deal, but it can lead to significant airflow problems. I once ignored a tiny rip, and let me tell you, the frustration of damp clothes was real!
- Loose Connections: If you notice your vent hose is wiggling or not securely attached, it could be causing airflow issues. I learned the hard way that a loose connection can lead to lint buildup, which is a fire hazard. Tightening those screws can save you a lot of headaches.
- Clogged Vents: This is a biggie! Lint, dust, and debris can accumulate in your vent system over time. I once had a clog that made my dryer work overtime, and my energy bill skyrocketed. Regular cleaning is key to preventing this.
- Faulty Vent Motors or Fans: If your vent system has a motor or fan, it can fail over time. If you hear strange noises or notice poor airflow, it might be time to investigate further. I had a fan that stopped working, and I was left with a very stuffy room!
Understanding these common vent issues is crucial for effective DIY vents repairs. Now that you know what to look for, let’s gather the tools you’ll need for the job!
Tools and Materials Needed for DIY Vent Repair
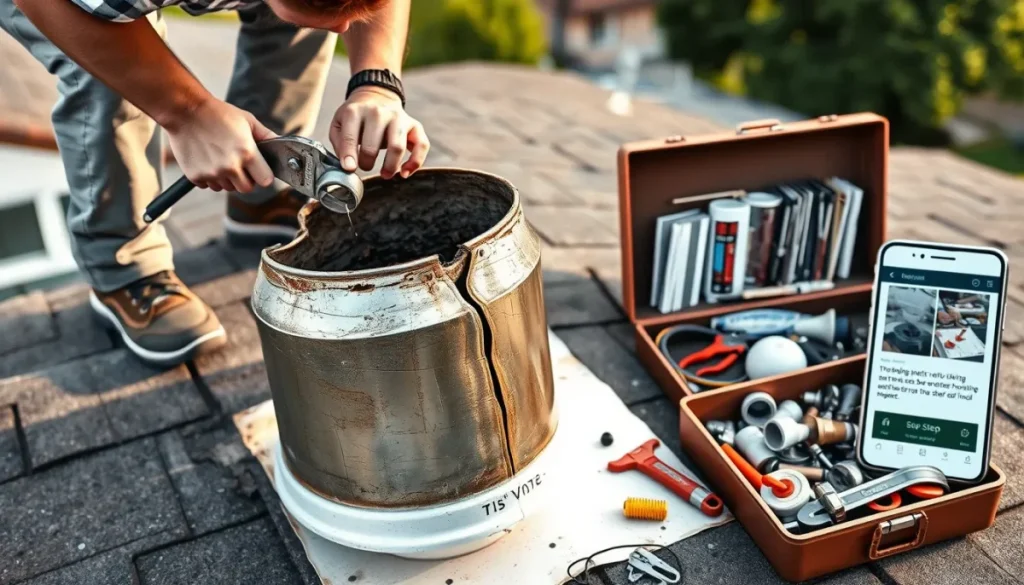
Alright, so you’ve spotted some issues with your vent system, and now it’s time to roll up those sleeves and get to work! But before you dive in, you’ll need to gather a few essential tools and materials. Trust me, having the right gear makes all the difference. Here’s what you’ll need:
- Duct Tape (Foil Tape Recommended for Dryer Vents): This isn’t just any tape; foil tape is specifically designed for high-temperature applications, making it perfect for dryer vents. I learned this the hard way when I used regular duct tape, and it melted away after a few cycles!
- Duct Clamps: These handy little devices secure your vent hoses in place. They’re easy to use and can save you from future headaches caused by loose connections. I always keep a few extra on hand because you never know when you’ll need them.
- Screwdriver: A good screwdriver is essential for tightening connections. Whether you’re dealing with Phillips or flathead screws, having a reliable screwdriver set is crucial. I once tried using a butter knife in a pinch—let’s just say it didn’t end well!
- Replacement Vent Hose/Duct: If you’ve discovered a tear or significant damage, you’ll need to replace that section of the vent. Make sure to measure the diameter of your existing hose before heading to the store to ensure a proper fit. I’ve learned that a little preparation goes a long way!
- Wire Cutters/Pliers: These tools are great for cutting and bending wires or clamps as needed. They’re especially useful if you need to remove old, rusted clamps that just won’t budge. I’ve had my fair share of struggles with stubborn clamps, so having a good pair of pliers is a must!
Having these tools and materials at your disposal will make your regular cleaning and maintenance can prevent many common vent issues, and with this DIY guide, you’re now equipped to handle basic repairs yourself! Remember, taking the time to understand your vent system and perform regular checks can save you from bigger problems down the line.
Step-by-Step Guide to DIY Vent Repair
Now that you have your tools ready, let’s get into the nitty-gritty of the repair process. This is where the magic happens! Here’s a step-by-step guide to help you through the DIY vent repair:
-
Unplug the Appliance and Pull It Away from the Wall
First things first—safety first! Always unplug your appliance before you start working on the vent. This is crucial, especially for dryers and other electrical appliances. Once it’s unplugged, carefully pull it away from the wall to access the vent.
-
Inspect the Vent Hose for Damage
Take a good look at your vent hose. Are there any visible tears or damage? If you spot a problem, you’ll need to replace that section. I once ignored a small tear, thinking it wouldn’t be a big deal, and ended up with a clogged vent!
-
For Dryer Vents
If you’re working on a dryer vent, follow these steps:
Cut Away the Damaged Section: Use your wire cutters to snip away the damaged part of the vent hose.
Attach the New Section Using Duct Clamps: Slide the new section of vent hose onto the existing duct and secure it with duct clamps. Make sure it’s tight—no one wants a loose connection!
Seal Joints with Foil Tape: Use foil tape to seal the joints. This will help prevent any leaks and ensure proper airflow. -
For Other Vents
If you’re working on a different type of vent, here’s what to do:
Clean Out Any Clogs or Debris: Use a vacuum or a brush to clear out any blockages. I can’t stress enough how important this step is—clogs can cause significant airflow issues!
Tighten Loose Connections: Check all connections and tighten them as needed. A little bit of elbow grease goes a long way here.
Replace Damaged Sections as Needed: If you find any other damaged sections, don’t hesitate to replace them. -
Step 5: Reattach the Vent Securely
Once you’ve made all the necessary repairs, reattach the vent securely to the appliance and the wall. Make sure everything is aligned properly and that there are no gaps.
-
Test to Ensure Proper Airflow and No Leaks
Finally, it’s time for the moment of truth! Plug your appliance back in and test it out. Check for proper airflow and listen for any unusual noises. If everything sounds good, congratulations—you’ve successfully completed your DIY vent repair!
Safety Tips for DIY Vent Repairs
Before you dive into your repair project, let’s talk about safety. It’s super important to take precautions to avoid any accidents or injuries. Here are some essential safety tips to keep in mind:
- Always Unplug Appliances Before Working on Vents: This is a no-brainer, but it’s worth repeating. Unplugging the appliance ensures you won’t accidentally shock yourself while working.
- Use Caution When Working on Rooftop Vents: If you need to access rooftop vents, make sure you have a sturdy ladder and a buddy to help. I once had a close call while balancing on a ladder—never again!
- For Gas Appliances, Shut Off Gas Before Vent Work: If you’re working on a gas appliance, it’s crucial to shut off the gas supply before starting any repairs. Safety first!
- Consider Hiring a Professional for Complex Repairs: If you’re unsure about any aspect of the repair or if it seems too complicated, don’t hesitate to call in a professional. It’s better to be safe than sorry!
FAQs
-
How often should I clean my vent system?
It’s generally recommended to clean your vent system at least once a year. However, if you notice any signs of reduced airflow, strange odors, or increased drying times, it’s a good idea to check and clean your vents more frequently.
-
What are the signs that my vent needs repair?
Common signs include:
Reduced airflow or poor appliance performance
Strange noises coming from the vent
Visible damage to the vent hose or connections
Increased energy bills without any other explanation -
Can I use regular duct tape for vent repairs?
While you can use regular duct tape in a pinch, it’s not recommended for high-temperature applications like dryer vents. Foil tape is a better option because it can withstand heat and provides a more secure seal.
-
Is it safe to repair vents myself?
Yes, many vent repairs can be safely done by homeowners. However, if you’re unsure about any aspect of the repair or if it involves complex systems (like gas appliances), it’s best to consult a professional.
-
What should I do if I find a clog in my vent?
If you find a clog, use a vacuum or a vent cleaning brush to remove it. For stubborn clogs, you may need to disassemble parts of the vent system to access the blockage. If you’re uncomfortable doing this, consider hiring a professional.
-
How can I prevent future vent issues?
Regular maintenance is key! Make it a habit to inspect and clean your vents at least once a year. Additionally, ensure that all connections are tight and that there are no obstructions around the vent exterior.
-
What materials are best for replacing vent hoses?
When replacing vent hoses, look for materials that are fire-resistant and suitable for the specific application (e.g., aluminum or flexible ducting for dryer vents). Always check local building codes for specific requirements.
-
Can I use a shop vacuum to clean my vents?
Yes! A shop vacuum can be very effective for removing lint and debris from vent systems. Just make sure to use the appropriate attachments to reach deep into the vent.
-
What if my vent system is still not working after repairs?
If you’ve completed the repairs and your vent system is still not functioning properly, it may be time to consult a professional. There could be underlying issues that require expert attention.
-
Are there any safety concerns I should be aware of?
Regular cleaning and maintenance can prevent many common vent issues, and with this DIY guide, you’re now equipped to handle basic repairs yourself! Remember, taking the time to understand your vent system and perform regular checks can save you from bigger problems down the line.
Don’t hesitate to customize these steps based on your specific vent system. Have you tackled a vent repair project? Share your experiences or tips in the comments below! Your insights could help fellow homeowners tackle their own vent issues.
Conclusion
Regular cleaning and maintenance can prevent many common vent issues, and with this DIY guide, you’re now equipped to handle basic repairs yourself! Remember, taking the time to understand your vent system and perform regular checks can save you from bigger problems down the line.
Don’t hesitate to customize these steps based on your specific vent system. Have you tackled a vent repair project? Share your experiences or tips in the comments below! Your insights could help fellow homeowners tackle their own vent issues.