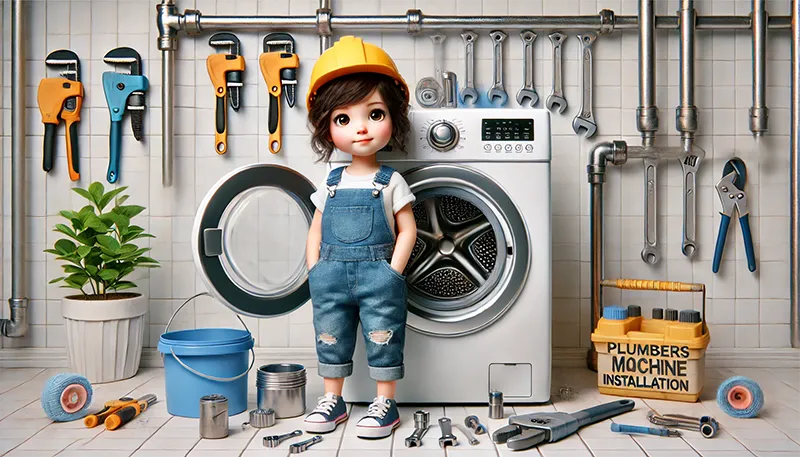
Getting ready to install a new washing machine? Having the right tools can make the difference between a quick, hassle-free setup and a frustrating ordeal filled with leaks and imbalances.
With the right equipment, you can ensure a secure, long-lasting installation that protects your home from water damage and keeps your machine running efficiently.
Let’s go over the must-have tools for washing machine installation you’ll need and how they contribute to a seamless installation.
Basic Tools Required for Washing Machine Installation
Starting with the essentials, here are the basic tools every washing machine installation will require:
- Adjustable Wrench: This is the go-to tool for tightening connections, especially for the water hoses. An adjustable wrench allows you to get a snug fit without overtightening, which can damage fittings.
- Pliers: Pliers are incredibly versatile and handy for adjusting hose clamps or fittings. They give you extra grip, which is useful for dealing with slippery or tight connections.
- Screwdrivers: While not always necessary, screwdrivers are useful for any screws or fasteners on the washing machine itself or any related brackets and supports. A basic flathead and Phillips screwdriver set should cover most situations.
These three tools are typically all you need to handle most of the basic adjustments and fittings involved in washing machine installation.
Essential Plumbing-Specific Tools for Washing Machine Installation
When dealing with plumbing, there are a few tools that can make all the difference in achieving a secure and leak-free connection:
- Pipe Thread Tape (Teflon Tape): Pipe thread tape, often referred to as Teflon tape, is a must for any threaded connections, like those on water hoses. Wrapping the tape around the threads creates a watertight seal that prevents leaks, giving you extra peace of mind.
- Hose Clamps: Hose clamps are crucial for keeping the drain hose securely attached to the standpipe or other drainage outlet. A well-fastened drain hose prevents leaks and ensures the washing machine drains correctly without shifting during use.
- Level: A level is essential to ensure the washing machine sits perfectly balanced on the floor. If the machine isn’t level, it can make a lot of noise and may even move during operation. Balancing your washing machine will also protect it from excessive wear and tear, which can lead to costly repairs.
Using these plumbing-specific tools will improve the stability and reliability of your washing machine setup, reducing the chances of leaks or damage over time.
Optional Tools for Improved Installation and Maintenance
While not strictly required, these additional tools can make the installation process even smoother and help with ongoing maintenance:
- Pipe Cutter: Occasionally, you may need to trim a pipe or hose to fit your setup. A pipe cutter gives a clean cut, making it easier to fit pipes and hoses without fraying or damage.
- Drain Snake: If you run into any clogs or slow drainage, a drain snake can clear the line quickly. It’s also a great tool to keep on hand for future maintenance.
- Water Pressure Gauge: This tool allows you to measure your home’s water pressure, which can prevent excessive pressure that might strain washing machine hoses or valves. It’s not essential, but it can be a helpful diagnostic tool, especially if you’ve had issues with hoses or connections in the past.
These optional tools are especially helpful if you’re installing your washing machine in a unique or challenging setup, or if you want to ensure you’re equipped for any future maintenance tasks.
Tips for Using Each Tool Effectively
Knowing how to use these tools properly will make your installation go much smoother. Here are a few practical tips:
- Adjustable Wrench: When tightening connections, be cautious not to overtighten. A firm but gentle approach helps avoid stripping or damaging fittings.
- Teflon Tape: When applying Teflon tape, wrap it around the threads in the direction of the thread turn (usually clockwise). This way, it won’t unravel as you tighten the hose or fitting.
- Level: Place the level on top of the washing machine and check it both side-to-side and front-to-back. Adjust the machine’s feet until the bubble sits in the center of the level, ensuring the machine is balanced on all sides.
Each of these tools has a specific purpose and can significantly impact the stability and efficiency of your washing machine installation.
FAQs
-
Why is a level important for washing machine installation?
A level helps prevent excessive noise and movement, which can lead to premature wear and imbalance issues during spin cycles.
-
Can I use regular pliers instead of an adjustable wrench?
An adjustable wrench is better suited for this task because it can handle different sizes and give a tighter, safer fit for hose connections.
-
How often should I check the hose clamps?
It’s a good idea to check the hose clamps at least once a year to make sure they’re still secure and haven’t loosened over time.
-
What if I don’t have Teflon tape for the connections?
Teflon tape is inexpensive and worth having, as it helps prevent leaks. If you don’t have any, proceed carefully, and check the connections for leaks after installation.
-
Do I need a water pressure gauge?
While not essential, a water pressure gauge can be helpful if you’ve had issues with hoses or want to verify that your home’s water pressure isn’t too high for washing machine connections.
Installing a washing machine isn’t just about connecting hoses; it’s about ensuring that each part is secure and well-fitted for a leak-free, balanced setup.
By having these essential tools on hand and knowing how to use them, you’ll be able to set up your washing machine quickly and confidently.
Investing a little time in getting the right tools will save you from potential headaches down the road and help keep your machine in top condition for years to come.


